So Slackware 15.0 finally released after what felt like an eternity. I happen to have one of those newfangled Framework laptops, which was currently happily running openSUSE Tumbleweed, and I figured I was overdue to come back home to my tried and true distro, so here goes.
Slackware? Really?
Yes, really. I’m a relative latecomer to the Slackware community (I first tried it when 14.0 was the current version), but it immediately felt like home, and that feeling hasn’t really gone away.
I just think it’s a neat distro. It’s one of the few that makes it a point to stay out of the user’s way, and I definitely appreciate that. It’s nice having a (GNU/)Linux distro that’s as close to “vanilla” as a distro gets, and it’s nice not having to fight with some fancy-shmancy dependency-resolving package manager (the software packaging process is so barebones and straightforward that I’ve even contributed my share of Slackbuilds to that effect, though admittedly I’ve slacked off (pun absolutely intended) on keeping ‘em up to date, so maybe this will be the kick in the butt I need to get back on that). Being the oldest actively-maintained distro is also cool in its own right.
For the above reasons (among many, many others), it’s the one and only
GNU/Linux distro for which I’ve ever paid actual money, and that money
is well worth it; Pat Volkerding and the rest of the Slackware team
have all done a fantastic job over the decades, and they deserve every
penny (which makes it all the more heartbreaking to hear how hard Pat
got financially fucked
over,
and all the more imperative to
donate
echo "$(cat /etc/slackware-version | awk '{print $2}')" USD,
sponsor, and/or buy
merch).
Framework?
In terms of build quality, compatibility, repairability, and extensibility, the Framework’s hard to beat. The 3:2 screen is fantastic; using a Pixelbook left me wondering why other laptop designs don’t deviate from boring ol’ 16:9 / 16:10, and here comes Framework hitting a home run. The whole “USB-C expansion ports” dealio is fantastic, and I look forward to seeing a proliferation of zany expansion port ideas by the community (and possibly myself if I can think of any). The build quality puts Apple to shame, and they do it with a design that’s easy to repair without any signfiicant compromise in compactness, and they throw in a much nicer keyboard to boot (get outta here with that butterfly switch nonsense). The camera and microphone switches are pretty neat, too, and it’s great knowing that if any part breaks I can order a new one and fix it myself. This is, put simply, a machine built to last, and it has served me well (and, I expect, will continue to do so for quite some time).
While Framework doesn’t (last I check) offer any Linux distros as preinstall options, they’ve made it a point to support Linux on their hardware, and it shows: openSUSE worked flawlessly out of the box as far as I was able to tell, and I’ve heard from the grapevine that plenty of other distros do, too. Is Slackware one of ‘em? Only one way to find out…
Let’s do it!
For the most part this was a pretty standard Slackware install, but I did do a couple oddball things.
Pre-installation steps
Obviously I needed to download Slackware’s ISO from my friendly
neighborhood Slackware
mirror,
and I needed to get that written to a thumbdrive (sudo dd
if=~/Downloads/slackware64-15.0-install-dvd.iso of=/dev/sdb bs=512
status=progress did the trick). A reboot and some mashing of the F12
key later, and I had the Slackware installer’s GRUB menu before me.
Default choice worked fine, as did the default keymap, so now I had
before me an all-too-familiar prompt to login as root and start
installing things.
Now, for those of y’all who ain’t familiar with Slackware’s install
process, it doesn’t really hold your hand through setting up disks;
when you actually run the setup command, it expects you to have
already setup your partitions as desired. Back in the day, this was
easy-peasy-lemon-squeezy: you just create a new MBR, make a root
partition, make a swap partition, and you’re all set, but it’s 2022
and things have evolved. We’ve got ourselves a UEFI-capable machine,
after all, and this is a laptop so full-disk encryption is pretty much
mandatory - which means using LUKS (and LVM, because decrypting a
bunch of individual partitions is for suckers).
Thankfully, the Slackware install media ships with instructions to
that effect:
README_CRYPT.TXT
and
README_UEFI.TXT
guide a prospective user through the process of setting up LUKS+LVM
and UEFI booting (respectively); and the latter even guides you
through keeping Windows as a dual-boot option if so desired. Having
done plenty of Slackware installations in the past, the usual sequence
would’ve been pretty much muscle memory:
cfdisk  # Wherein I create 500MB EFI + 500MB Linux + rest Linux partitions
mkfs.fat /dev/nvme0n1p1
mkfs.ext2 /dev/nvme0n1p2
dd if=/dev/urandom of=/dev/nvme0n1p3
cryptsetup -y luksFormat /dev/nvme0n1p3
cryptsetup luksOpen /dev/nvme0n1p3 luksnvme0n1p3
pvcreate /dev/mapper/luksnvme0n1p3
vgcreate cryptvg /dev/mapper/luksnvme0n1p3
lvcreate -L 32G -n swap cryptvg
lvcreate -L 350G -n root cryptvg
mkswap /dev/cryptvg/swap
mkfs.xfs /dev/cryptvg/root
But this time was a bit different:
-
The openSUSE installer has a neat trick up its sleeve: use GRUB’s support for LUKS and LVM to do away with a separate
/bootpartition entirely, such that one only needs partitions for EFI and LUKS+LVM. This is pretty cool, and I wanted to try to recreate it in Slackware. -
ext4 now has support for “casefolding”, i.e. marking folders as case-insensitive. Previously (and currently, on my machines using things like btrfs or XFS), I would have to hack something together with FUSE if, say, I wanted to install mods for Bethesda’s Fallout games (because of course those games’ modding communities can’t decide on a single convention for uppercase v. lowercase filenames, so Wine/Proton get confused unless I manually clean things up). Now, in theory, I could just mark the games’ respective folders in
~/.steam/steam/steamapps/commonas case-insensitive and things should Just Work™. While I don’t plan on doing a whole lot of gaming on my Framework, I do have a Steam Deck on order, and an SD card with casefolding-enabled ext4 would be a gamechanger (literally).
So, seeing as I already had a GPT setup on my /dev/nvme0n1, with an
EFI partition and LUKS partition I wanted to reuse, I broke from
muscle memory for a bit this time:
cryptsetup luksOpen /dev/nvme0n1p2 luksnvme0n1p2
vgremove system  # Technically unneccesary, but whatever
vgcreate cryptvg /dev/mapper/luksnvme0n1p2
lvcreate -L 32G -n swap cryptvg
lvcreate -L 100G -n root cryptvg
lvcreate -L 250G -n home cryptvg
mkswap /dev/cryptvg/swap
# GRUB doesn't like casefolding and other fancy features, so we're
# keeping root vanilla
mkfs.ext4 /dev/cryptvg/root
# /home, on the other hand, gets casefolding.  It also gets 64-bit
# support, because mkfs.ext4 warned about that and "full-strength
# checksumming" seems like a pretty good idea.
mkfs.ext4 -O casefolding,64bit /dev/cryptvg/home
Actually running the installer
With my partitions squared away, it was time to actually run the
setup command, presenting me with the nice eye-melting
blue-backgrounded curses interface I had grown to love (it’s an
acquired taste, I swear). Added /dev/cryptvg/swap as swap, added
/dev/cryptvg/root as /, and added /dev/cryptvg/home as /home.
It was at this point I noticed that Slackware’s installer detected the
wrong EFI partition; instead of the one on my NVMe drive, it had
picked the one on the thumbdrive. Easy to fix: just hopped over to
another TTY, ran a quick umount /mnt/boot/efi + mount
/dev/nvme0n1p1 /mnt/boot/efi, and noted to myself that I’d need to
edit /mnt/etc/fstab after the installer finishes.
After that point, it was all a pretty smooth and standard (if there is
such a thing) Slackware install: picked my USB stick as my source,
left everything selected, picked the terse option, and waited for a
few minutes as various package descriptions scrolled across the
screen.
I skipped the USB stick creation step, and I skipped both LILO and
ELILO (normally I would’ve used one or the other - in this case ELILO,
since I intended to boot via UEFI - but neither supports LUKS or LVM
(let alone both) like GRUB does, so both got the axe this time). I
picked the USB mouse option and enabled gpm (these don’t matter for
X11 or Wayland, but they allow using the mouse in the
otherwise-text-only Linux console, which is cool so I always do it),
skipped the network config (I was gonna use NetworkManager anyway,
since it’s a laptop and would be roaming around), stuck with the
default daemons and fonts, set the hardware clock to UTC, set the
timezone to US/Pacific, set the default graphical session to KDE, and
set the root password.
Done with setup now, but naturally there were a few things I still
needed to do.
Post-installation steps
First things first: ran chroot /mnt, then edited /etc/fstab to fix
that incorrect /boot/efi detection:
/dev/cryptvg/swap swap             swap        defaults         0   0
/dev/cryptvg/root /                ext4        defaults         1   1
/dev/cryptvg/home /home            ext4        defaults         1   2
/dev/nvme0n1p1    /boot/efi        vfat        defaults         1   0
#/dev/cdrom      /mnt/cdrom       auto        noauto,owner,ro,comment=x-gvfs-show 0   0
/dev/fd0         /mnt/floppy      auto        noauto,owner     0   0
devpts           /dev/pts         devpts      gid=5,mode=620   0   0
proc             /proc            proc        defaults         0   0
tmpfs            /dev/shm         tmpfs       nosuid,nodev,noexec 0   0
Normally, this is where I would create an initrd.gz. However, turns
out that Slackware 15.0 does this automatically now (at least as
evidenced by the existence of /boot/initrd.gz and
/boot/initrd-tree/). Pretty neat!
In any case, I needed to configure and install GRUB, and I wanted to make sure I included everything I needed in my initrd.gz:
echo 'GRUB_ENABLE_CRYPTODISK=y' >> /etc/default/grub
echo 'GRUB_CMDLINE_LINUX="cryptdevice=/dev/nvme0n1p2:lvm"' >> /etc/default/grub
grub-mkconfig -o /boot/grub/grub.cfg
grub-install /dev/nvme0n1
dd bs=512 count=4 if=/dev/urandom of=/boot/cryptkey.bin
cryptsetup luksAddKey /dev/nvme0n1p2 /boot/cryptkey.bin
echo 'MODULE_LIST="ext4:hid:drm:usbhid"' >> /etc/mkinitrd.conf
echo 'LUKSDEV="/dev/nvme0n1p2"' >> /etc/mkinitrd.conf
# Turns out this didn't actually work :(
echo 'LUKSKEY="/boot/cryptkey.bin"' >> /etc/mkinitrd.conf
echo 'ROOTDEV="/dev/cryptvg/root"' >> /etc/mkinitrd.conf
echo 'RESUMEDEV="/dev/cryptvg/swap"' >> /etc/mkinitrd.conf
echo 'LVM=1' >> /etc/mkinitrd.conf
mkinitrd -F -c -k 5.15.19
mkdir /boot/efi-backup
# Just in case...
mv /boot/efi/EFI/boot /boot/efi-backup/boot
mv /boot/efi/EFI/opensuse /boot/efi-backup/opensuse
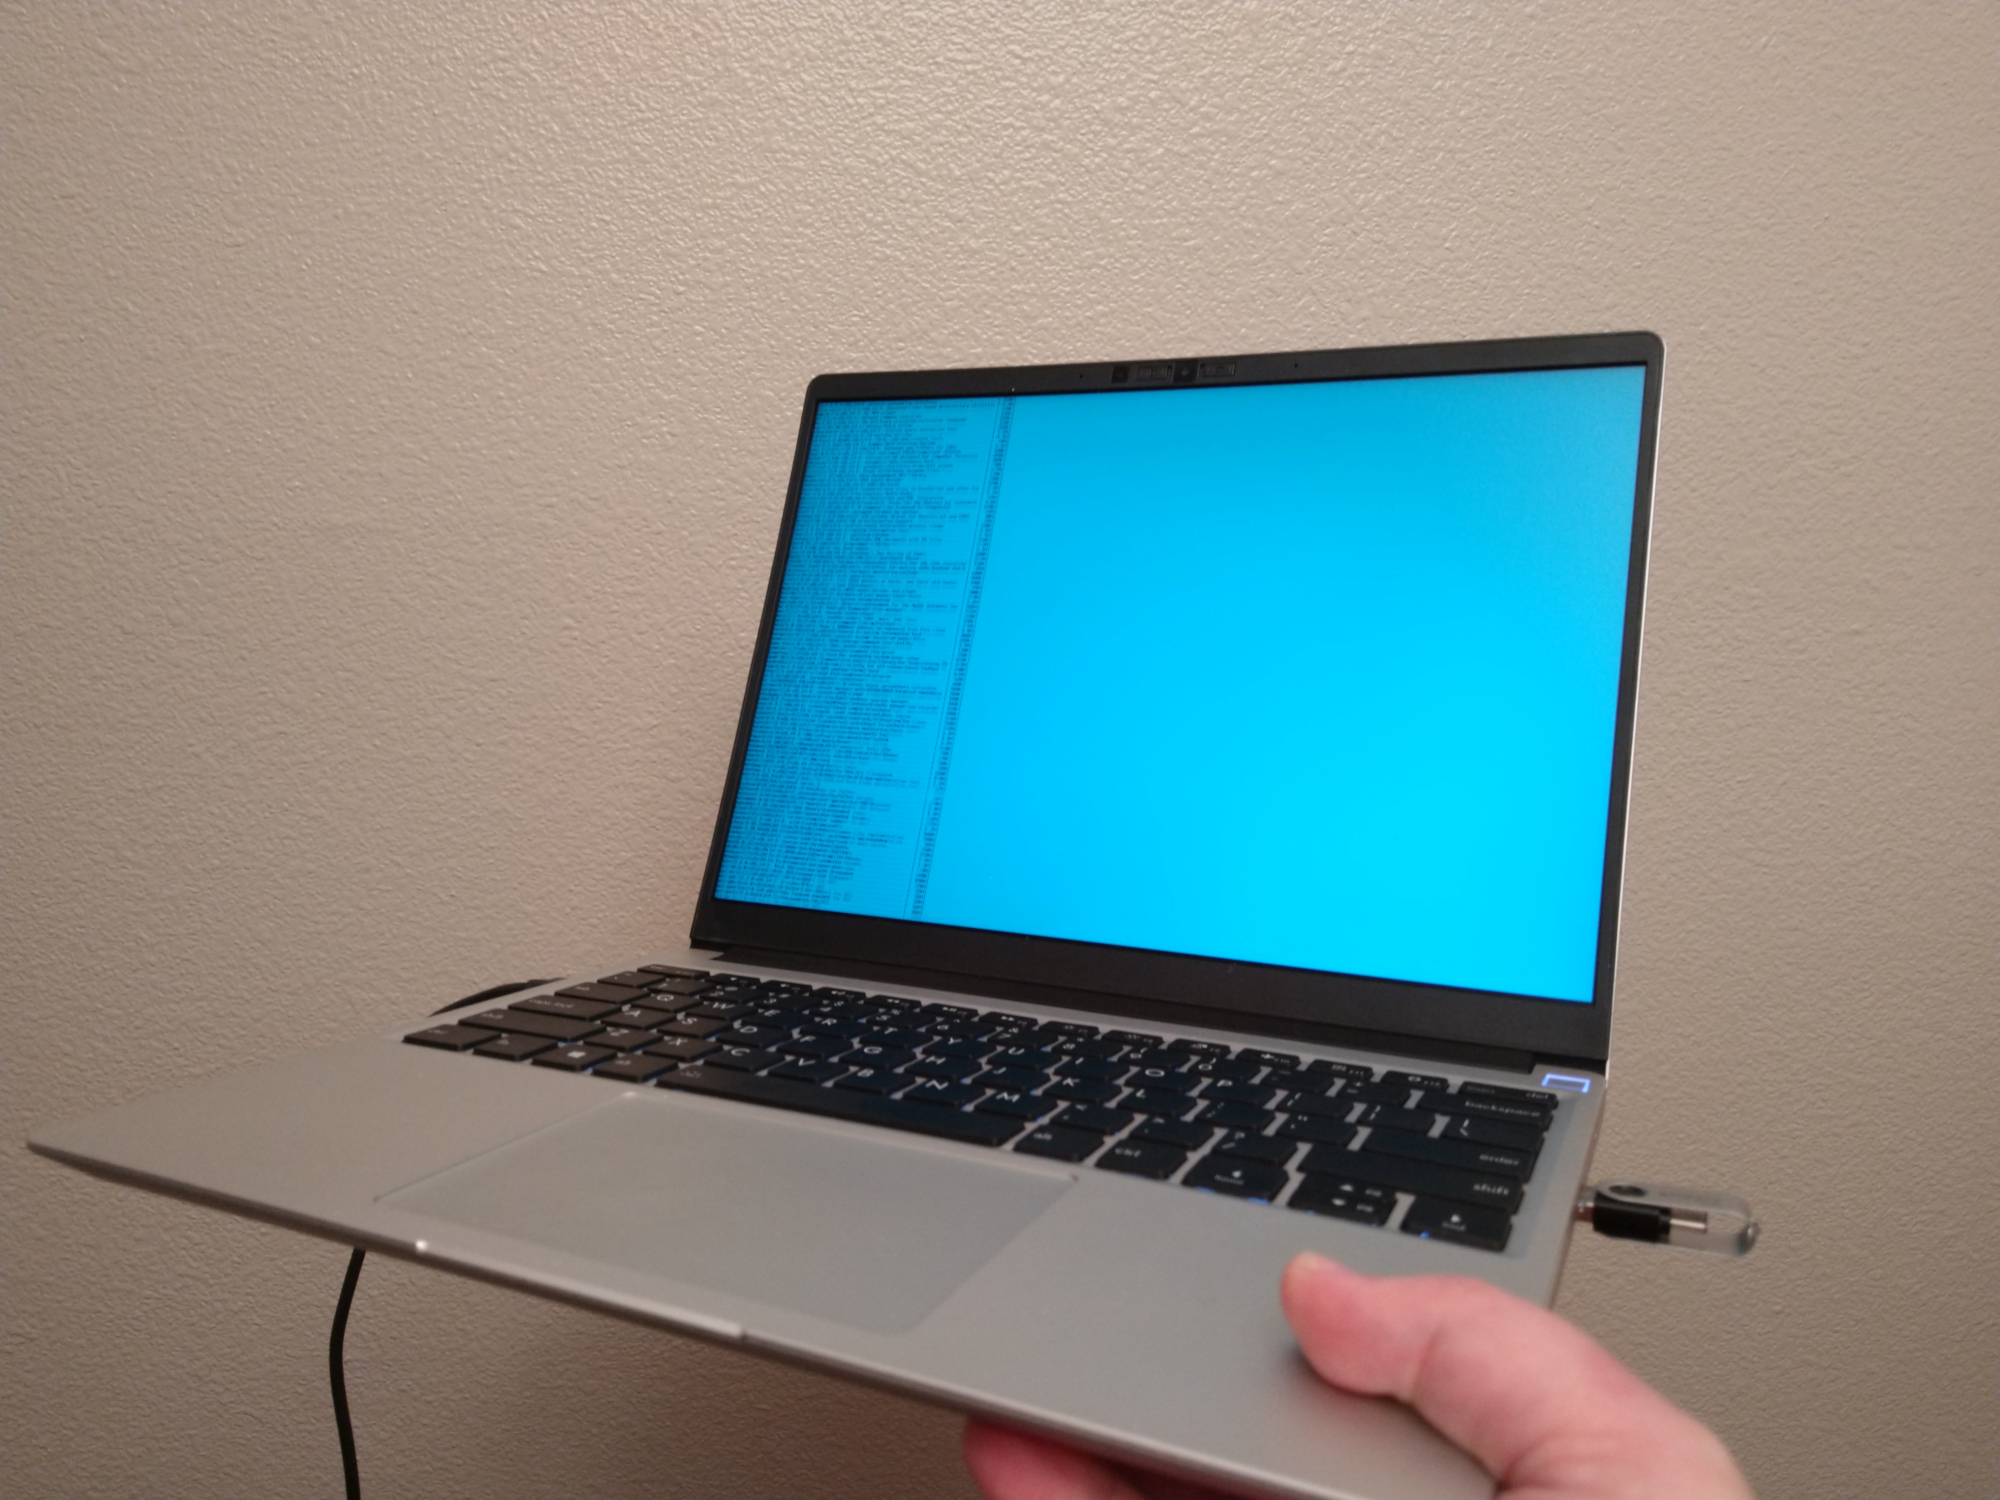
And with that, I was finally ready to reboot for the first time (and ready to unplug the thumbdrive).
First-boot configuration
Right away, I noticed that GRUB did indeed install correctly (and I
even blew away the original openSUSE-installed GRUB entirely, so this
was clearly Slackware’s GRUB); after entering my LUKS passphrase at
the prompt I got Slackware’s GRUB menu. I had to dig into the
“advanced” submenu and pick the generic kernel instead of huge
(long story short: you should always use generic instead of huge
because generic uses an initrd.gz and huge doesn’t, and I forgot
to skip installing the huge kernel like I normally do so I knew I’d
have to clean that up at some point), but it did indeed boot as
expected.
…well, mostly. You notice those couple of commands up above to
create a LUKS key and try to include it in the initrd.gz? Well,
turns out the LUKSKEY config option doesn’t work that way; that
option only tells init to check for a file that’s visible during
boot, and doesn’t tell mkinitrd to actually include it in
initrd.gz (which is usually sensible, since Slackware’s usual
assumption is that initrd.gz is in an unencrypted /boot partition,
in which case baking in a LUKS key would entirely defeat the purpose
of full-disk encryption). So, despite my best efforts, I ended up
with a second passphrase prompt. Oh well. Ain’t the end of the
world.
After reentering my passphrase, the first boot went perfectly smooth.
Did my normal post-install steps (useradd northrup and added myself
to wheel and dialout; uncommented sudo permissions for wheel
members in /etc/sudoers; changed default runlevel from 3 to 4 in
/etc/inittab; ran chmod +x /etc/rc.d/rc.networkmanager because I
forgot to tick that option in the installer), uncommented
kernel-huge.* in /etc/slackpkg/blacklist, ran removepkg
kernel-huge, re-ran grub-mkconfig -o /boot/grub/grub.cfg, and gave
it another reboot.
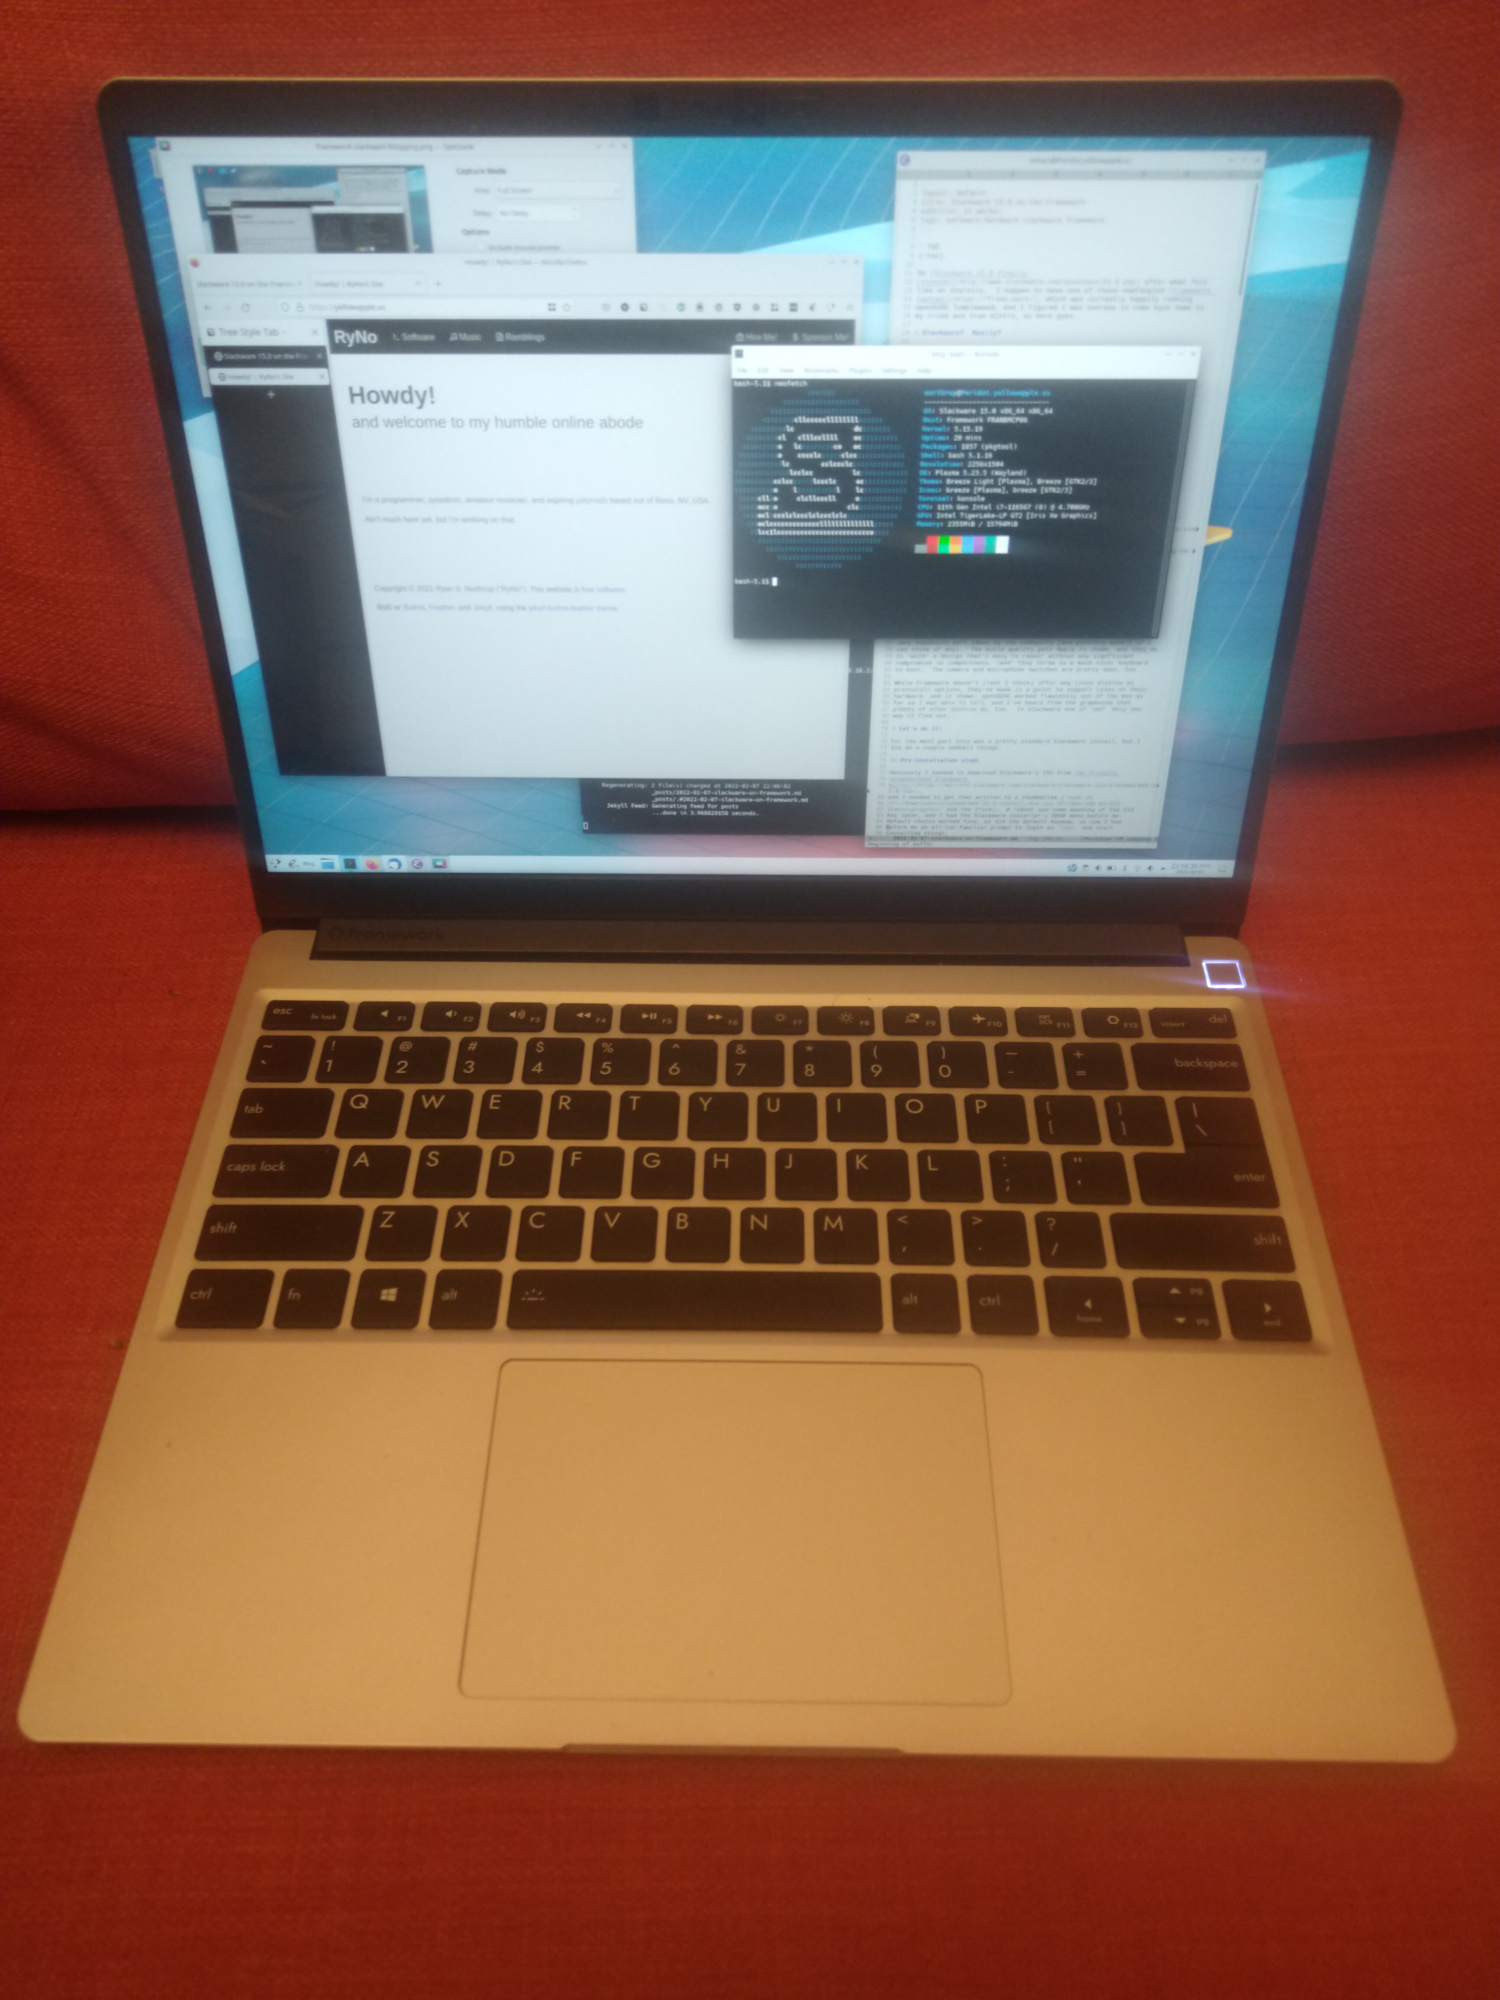
So does it work?
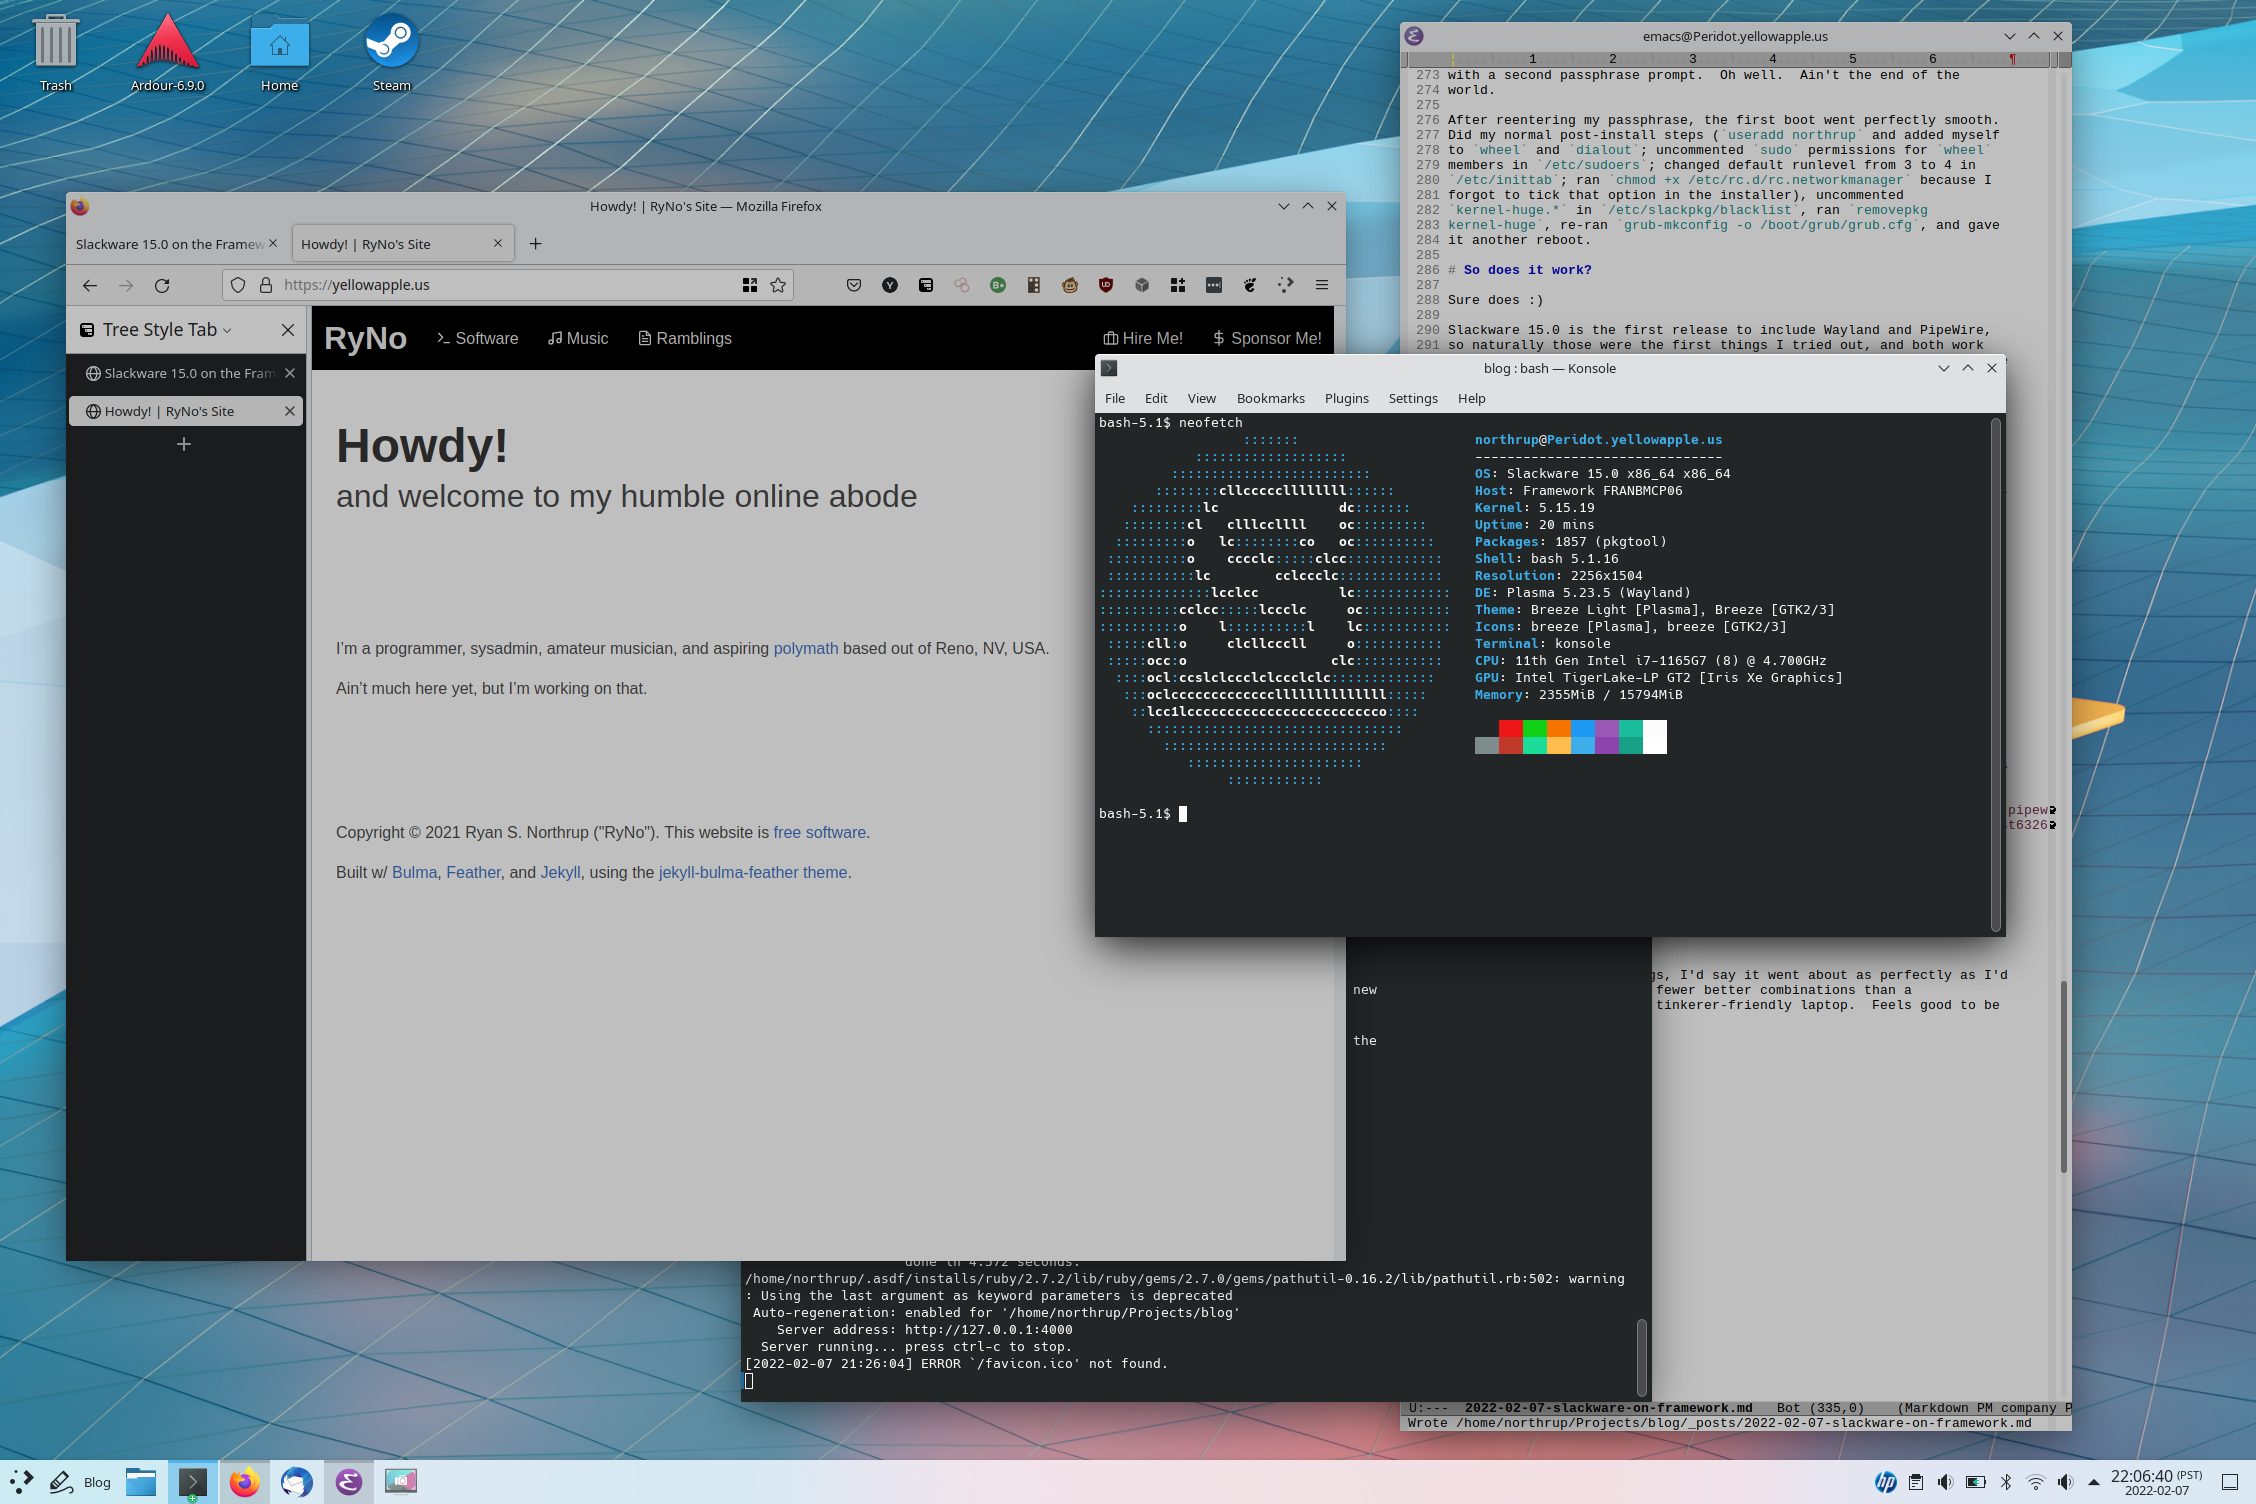
Sure does :)
Slackware 15.0 is the first release to include Wayland and PipeWire,
so naturally those were the first things I tried out, and both work
perfectly: Wayland was as simple as picking the relevant option at the
login screen, and PipeWire was as simple as running sudo
/usr/sbin/pipewire-enable.sh and rebooting.
Suspend and resume work out-of-the-box. Wireless works out-of-the-box. Touchpad works out-of-the-box (including KDE’s multitouch gestures for things like presenting windows/desktops). Audio works out-of-the-box. 3D acceleration works out-of-the-box. Media keys work out-of-the-box. None of this is terribly surprising, seeing as how these worked out-of-the-box with openSUSE using an older kernel than what Slackware 15.0 uses, but the fact that it’s Slackware, of all things, working out of the box is still a wonderful feeling.
As for actually using it as my new daily driver, I’m already up and
running with my usual development tools (Emacs, asdf w/ direnv)
and applications (Firefox, Thunderbird).
Slackpkg+ already fully
supports Slackware 15.0, and all of the usual repos I use have 15.0
versions as well (most importantly: multilib/compat32, which is
essential for running the smattering of 32-bit applications out there,
including Steam).
Naturally, it ain’t all sugarcubes.
SlackBuilds.org doesn’t seem to be
particularly aware of the new version yet, nor does
sbopkg, but hopefully that’ll come soon
(and this is another reminder to myself to test/update the SlackBuilds
I maintain to ensure 15.0 compatibility). Enabling PipeWire’s JACK
support was a bit trickier than I
expected
but after some banging of my head against the wall it now works great
with Ardour. As for including the LUKS key in initrd.gz, I first
tried just shoving it into /boot/initrd-tree/boot/cryptkey.bin and
re-running mkinitrd -F -k 5.15.19, which “worked” in the sense that
the file is present in the initial ramdisk, but I still needed to
tweak /boot/initrd-tree/init a bit (separate post incoming for
that).
Other than those mild snags, I’d say it went about as perfectly as I’d hoped, and I can think of fewer better combinations than a tinkerer-friendly OS on a tinkerer-friendly laptop. Feels good to be back home :)